Install firmware
Important: If you purchased an assembled device please skip this step
If you purchased an unassembled Friend device or built it yourself using our hardware guide, follow the steps below to flash the firmware:
Official firmware:
Go to Releases in Github, and find the latest official firmware release. To use this firmware, simply download it and skip to step 6. If you would like to build the firmware yourself please follow all the steps below.
Build your own firmware:
-
Set up nRF Connect by following the tutorial in this video: https://youtu.be/EAJdOqsL9m8
-
In the nRF Connect Extension inside your VS Code, click “Open an existing application” and open the
firmwarefolder from the root of this repo.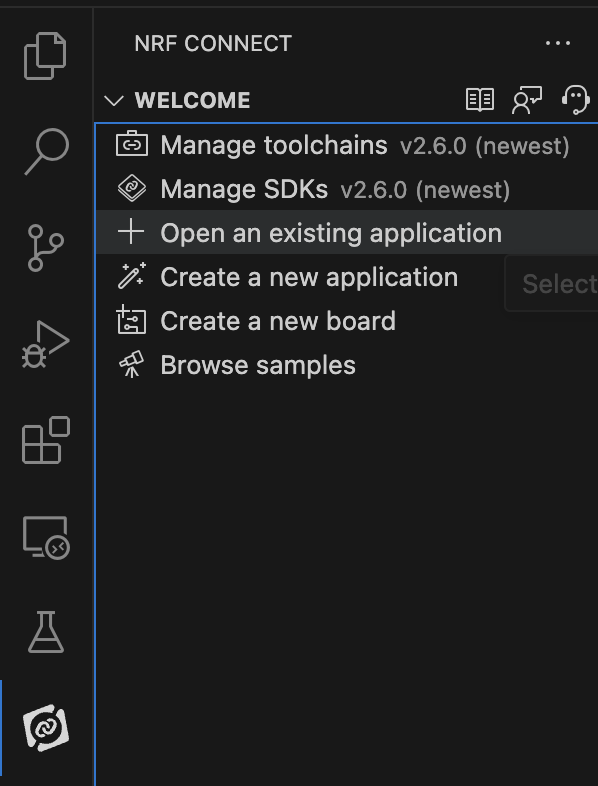
-
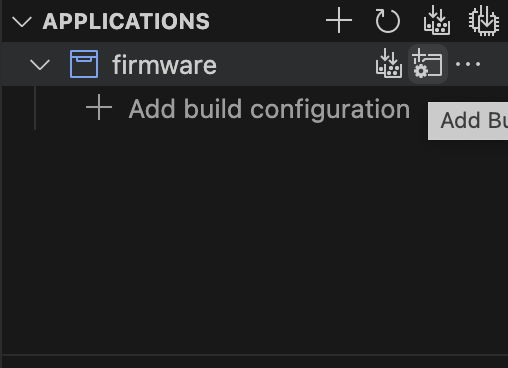
In the application panel of the extension, click the “Add Build Configuration” icon.
-
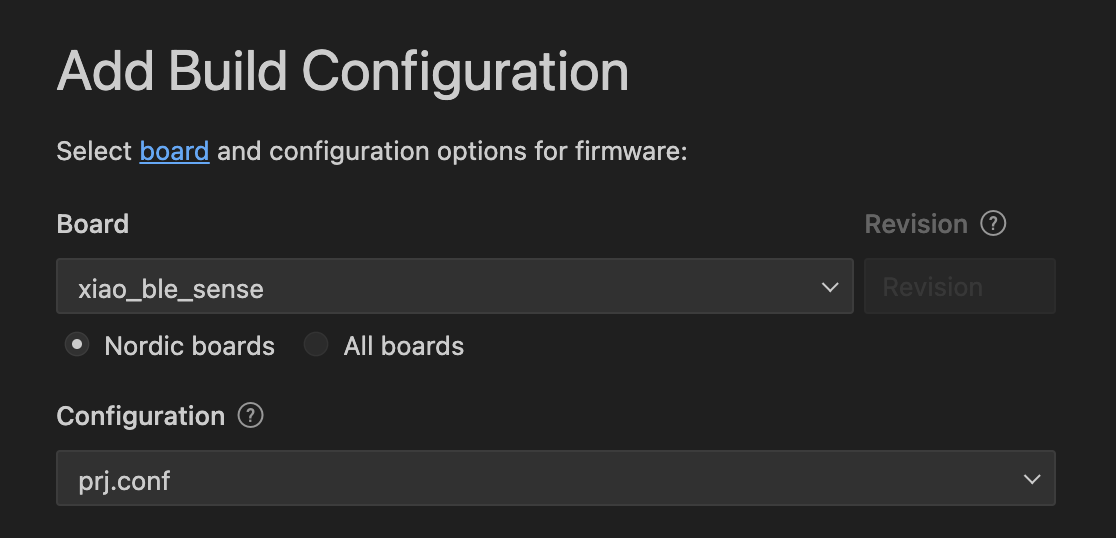
Choose the board as “xiao_ble_sense” and select the configuration as “prj.conf”. Then, click “Build Configuration”.
-
Once the build succeeds, you will find the
zephyr.uf2file in thefirmware/build/zephyrdirectory. -
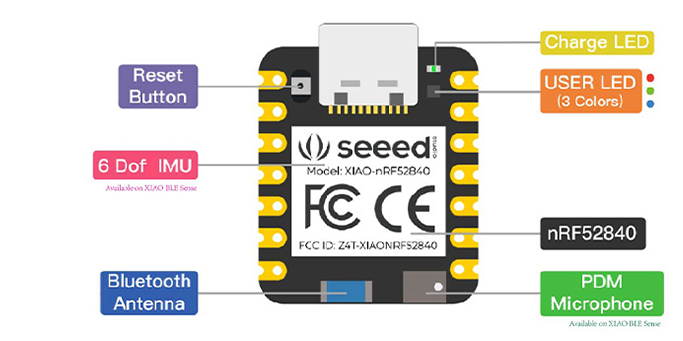
Double-click on the reset button of the device(see on image below) . The device will appear on your computer as a disk. Drag and drop the
zephyr.uf2file into it.Note: On a Mac, you might see an error message after dropping the file, indicating that the process did not complete. This is just a Mac-specific error; the firmware is successfully uploaded.
If you have an assembled device, you can put a stick pin/needle into this whole and double-click 2 times
That’s it! You have successfully installed the firmware on your device.